
Prelude
- We used to develop custom themes in the past which turned out hard to maintain.
- We changed to only one theme app called Lively Theme that acts as a drop-in solution with options for customizations.
- In this Blog Post we describe how you can achieve your own individual Confluence appearance with a few simple steps.
Theming in Confluence - or: why customizing will drive you nuts
Over the last 10+ years we have worked with Atlassian products at Scandio, we have developed many different types of Confluence customizations. One of the most dominating parts of those customizations used to be theming: it is only reasonable for individual customers to have their own individual appearance of an application as prevalent as Confluence. There are Theming Apps on the Atlassian Marketplace, but often these are either expensive, not meeting individual needs, or complex to set up and maintain. Consequently, many instances will end up with some type of “their own individual theme”.
As a solution partner consulting a customer with regard to their theming needs, the first step is often a mix of out-of-the-box tools like Custom CSS, Custom Layout, User Macros, etc. When these options are not sufficient, the next step may be to develop a custom theme app for this customer and we have done many such themes over the years at Scandio. But while this may sound like a great business opportunity at first, it turns out it actually isn’t: theme apps require too much maintenance and must be adapted to all major updates of the host product.
Lively Theme - a (customizable) drop-in theme rather than a custom theme
Nowadays, we’re not developing Confluence theme apps anymore, because we have one theme app to rule them all: Lively Theme for Confluence. So now rather than developing a new theme for each customer, we say “hey, take this theme and customize it to your needs”. This has produced a boost in our productivity because we completely got rid of the bothersome maintenance/update cycle of theme apps. Now, whenever there’s a Confluence update, we just say “sure, it’s already on the marketplace” to our customers. And to new potential customers we say “just install our drop-in theme solution and we can then see later how we make it YOUR Confluence step-by-step afterwards”.
From OK to AWESOME in 10 minutes!
So now, I advertised Lively Theme as a drop-in solution. I will show what we mean by “drop-in” and what easy steps you can take to make the OK appearance of a vanilla Confluence a AWESOME individual appearance with Lively Theme.
What does drop-in mean?!
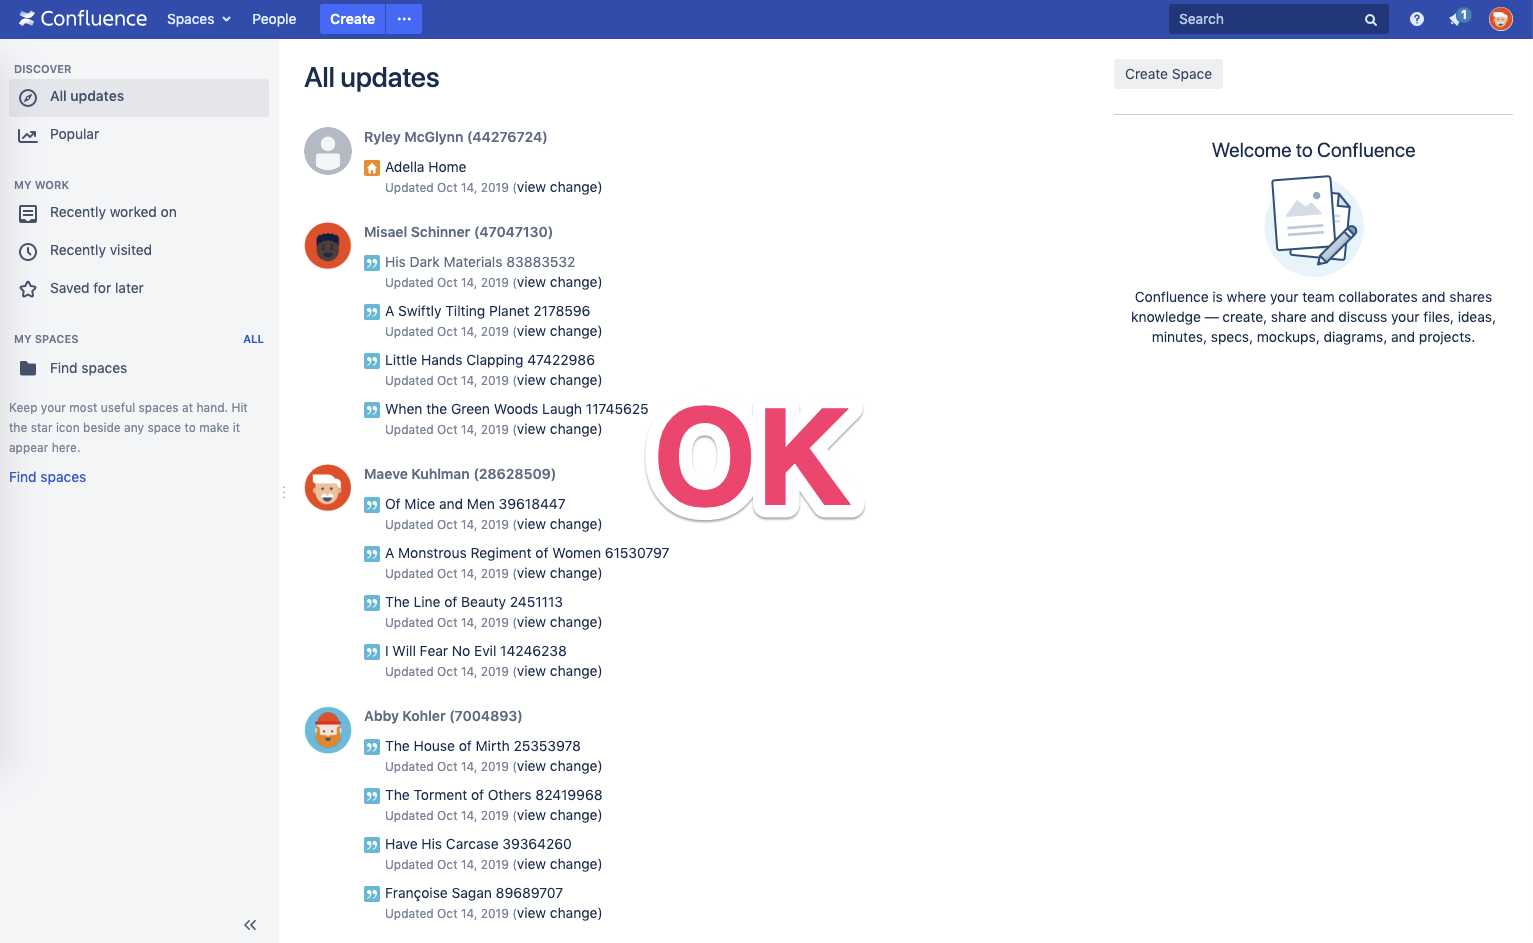
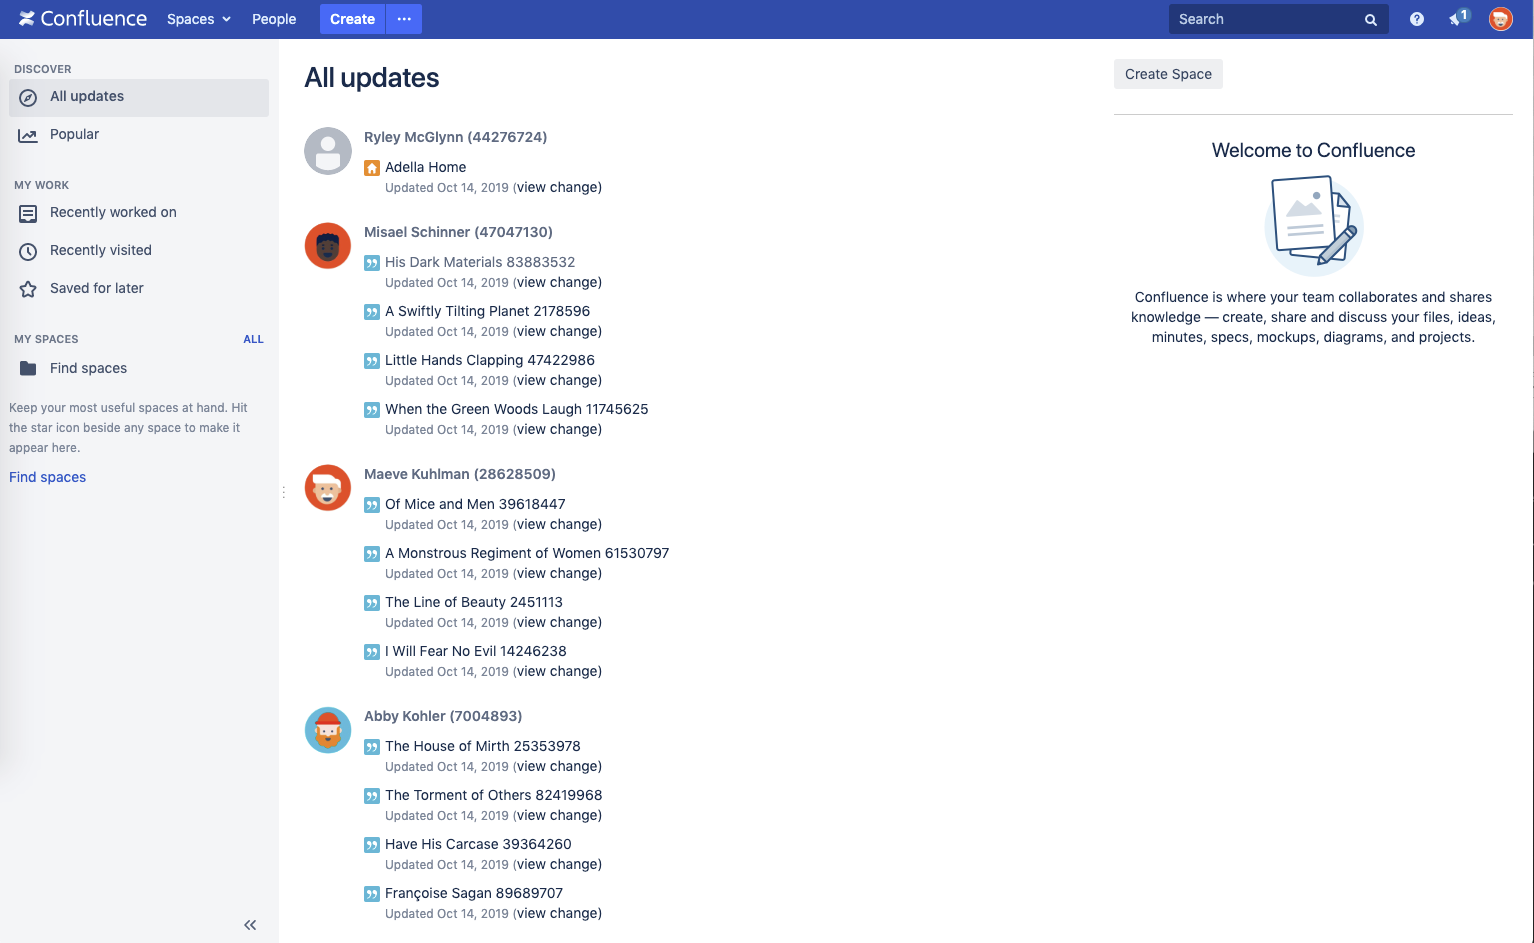
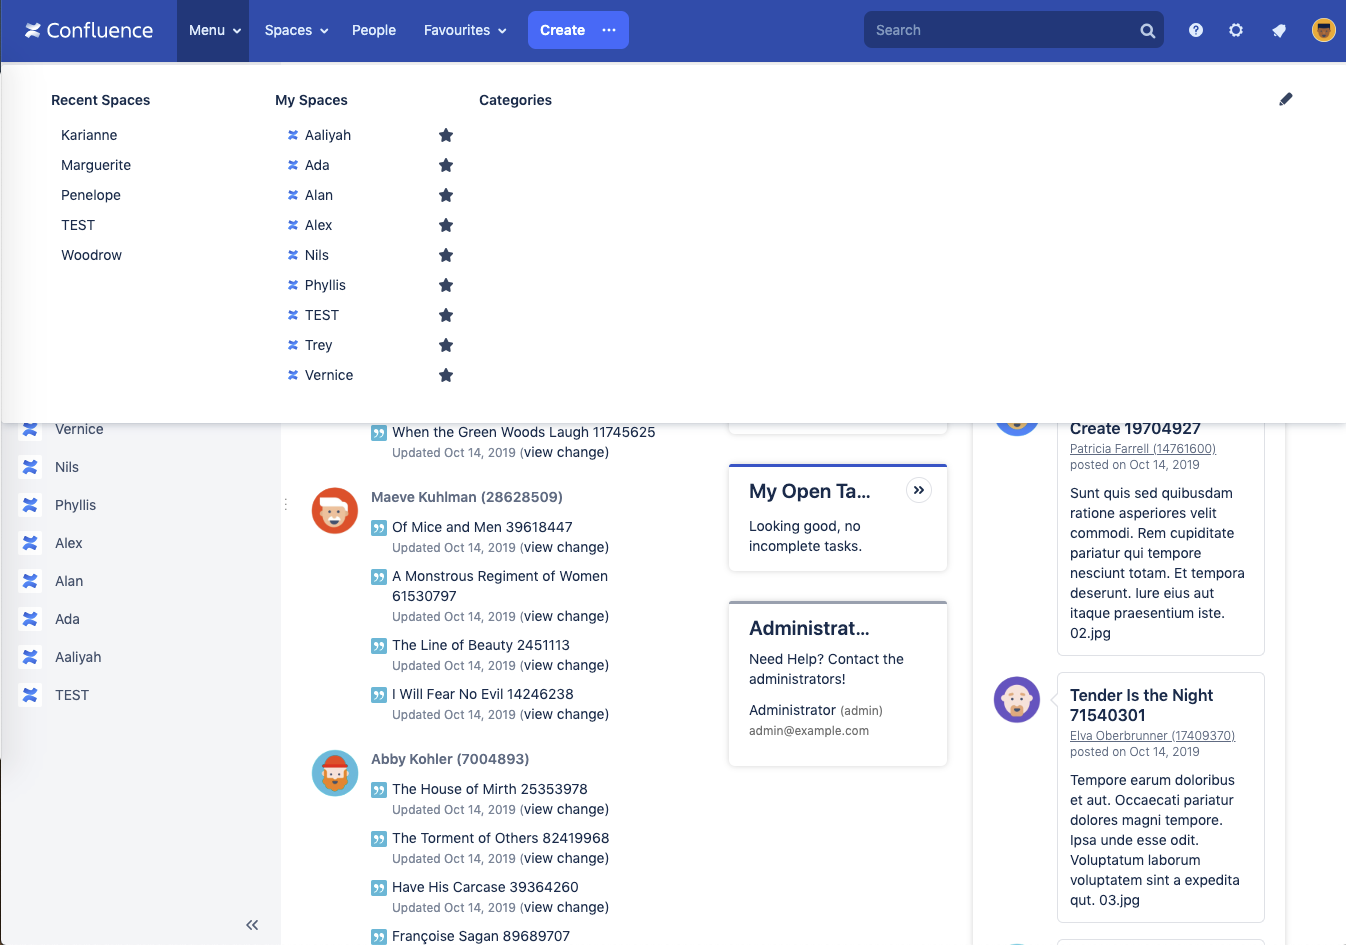
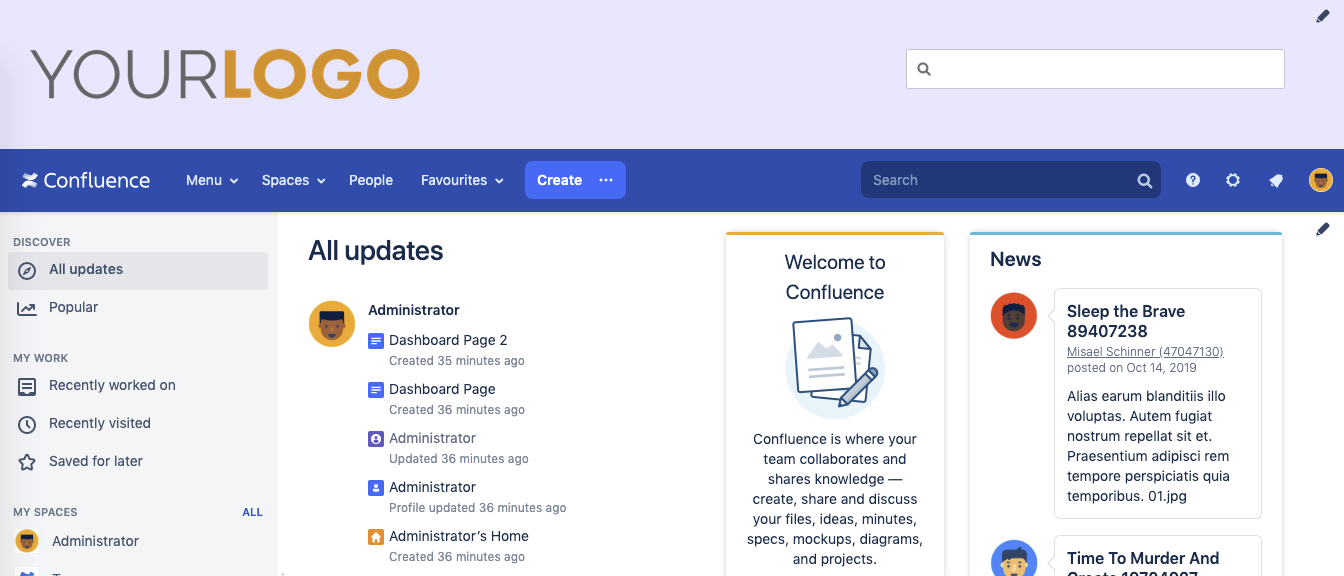
For this purpose, I have prepared a vanilla Confluence demo instance with some auto-generated content. The dashboard looks like this:

This is what I meant by “OK”: the vanilla Confluence dashboard probably wouldn’t win a prize in design. Of course, this is subjective. But let’s see what changes if I now only install the Lively Theme app and enable it as a theme in the Confluence Admin:

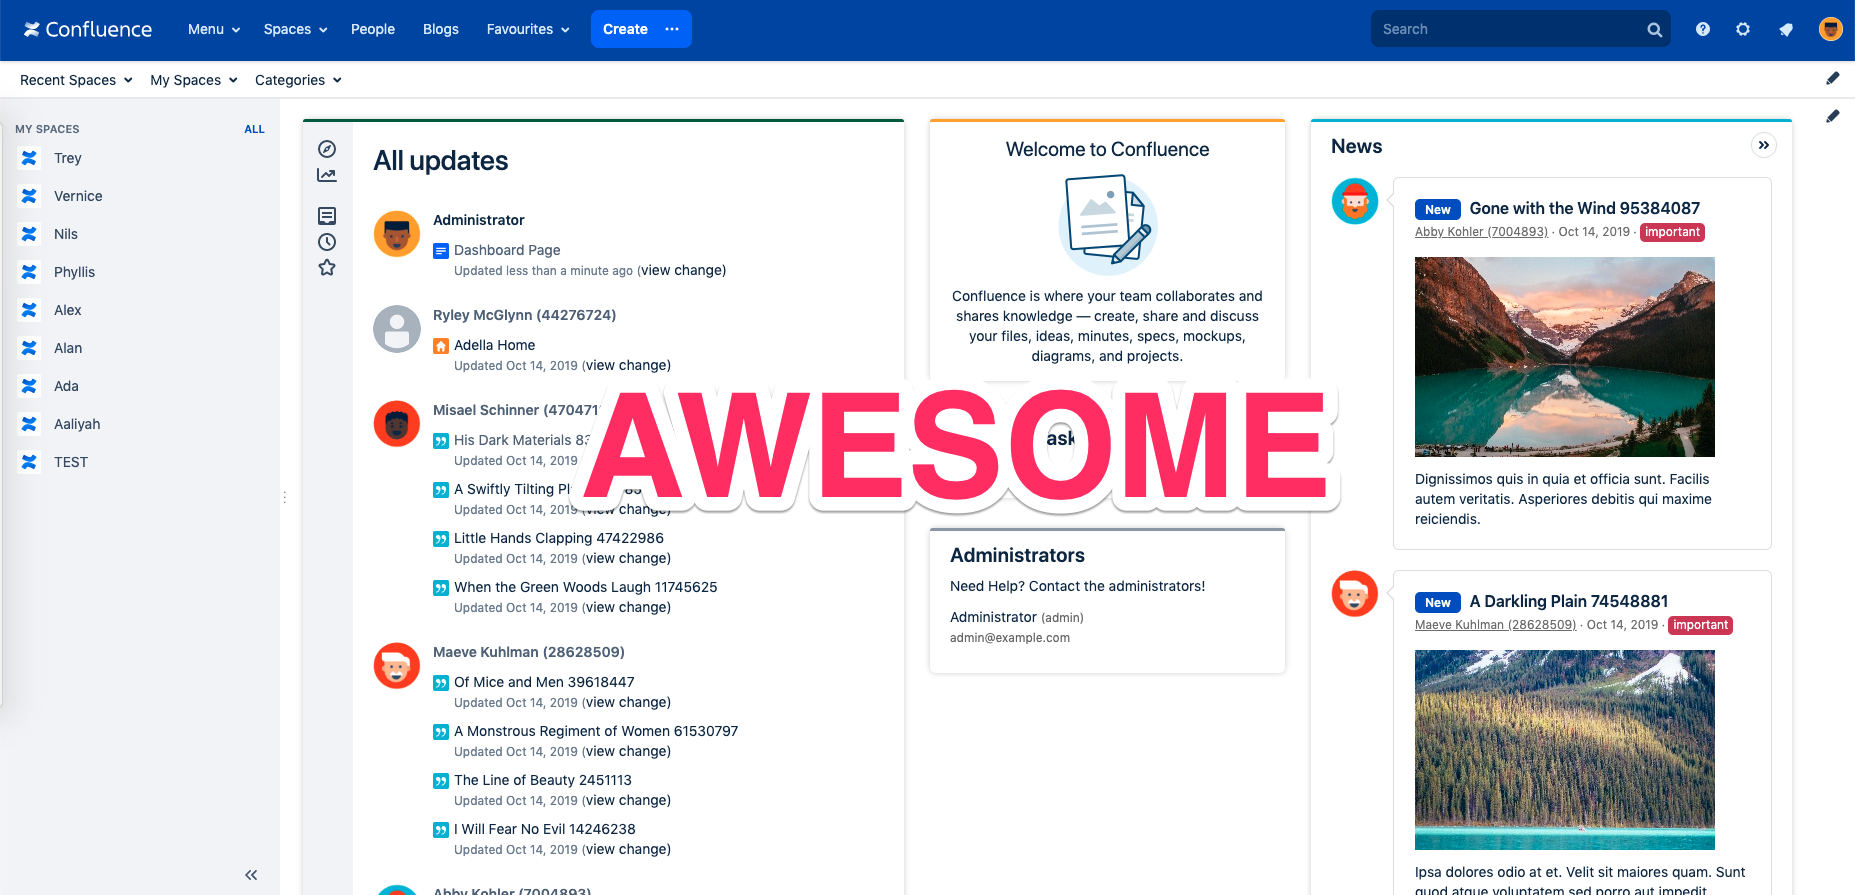
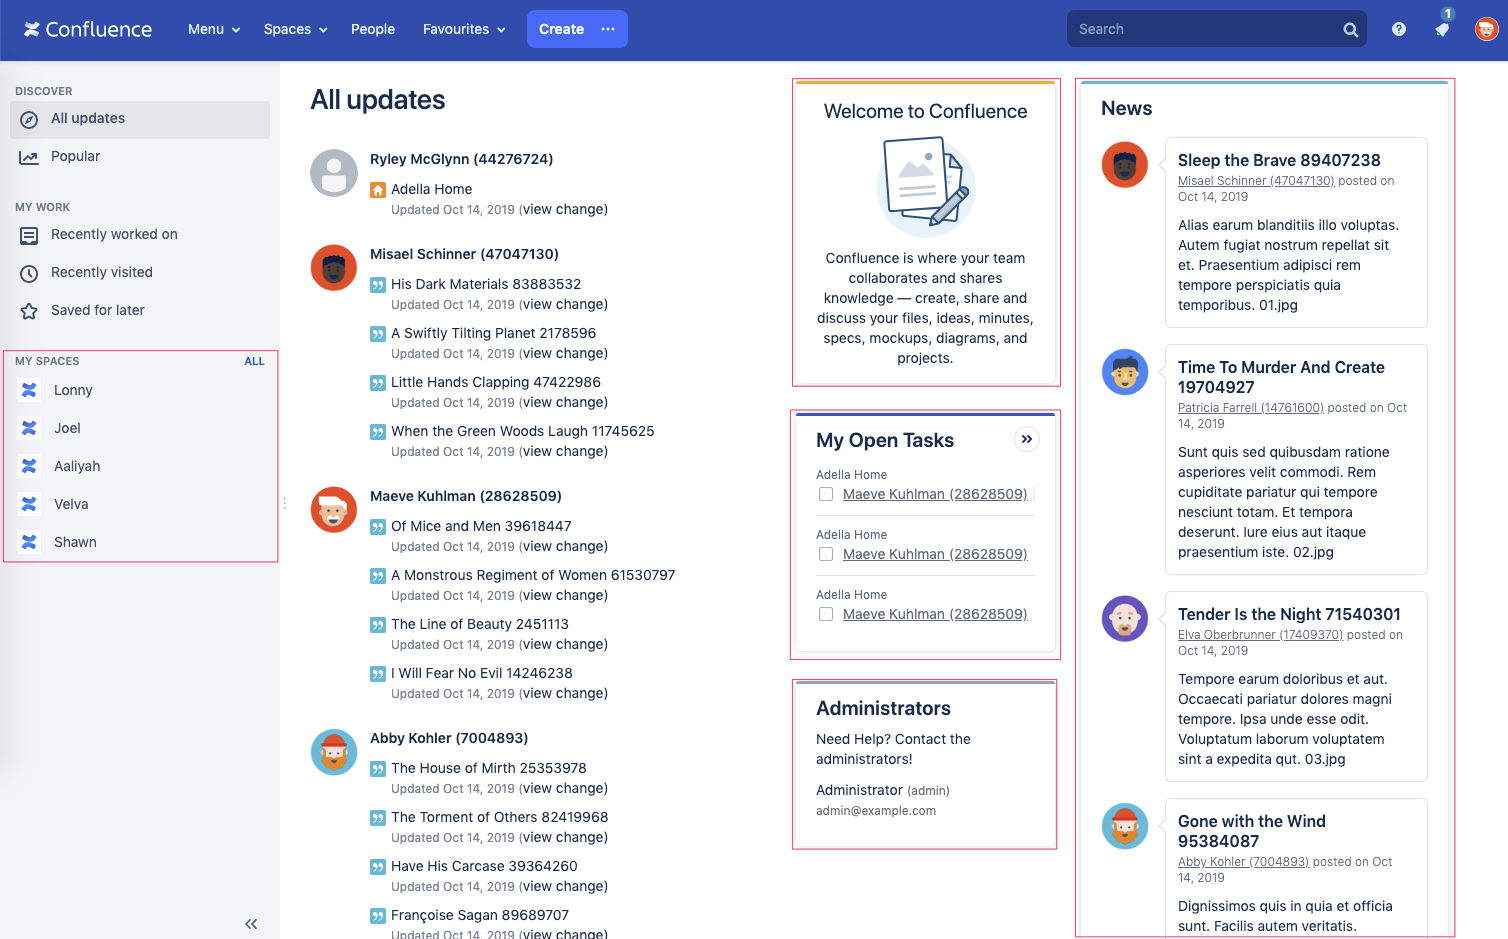
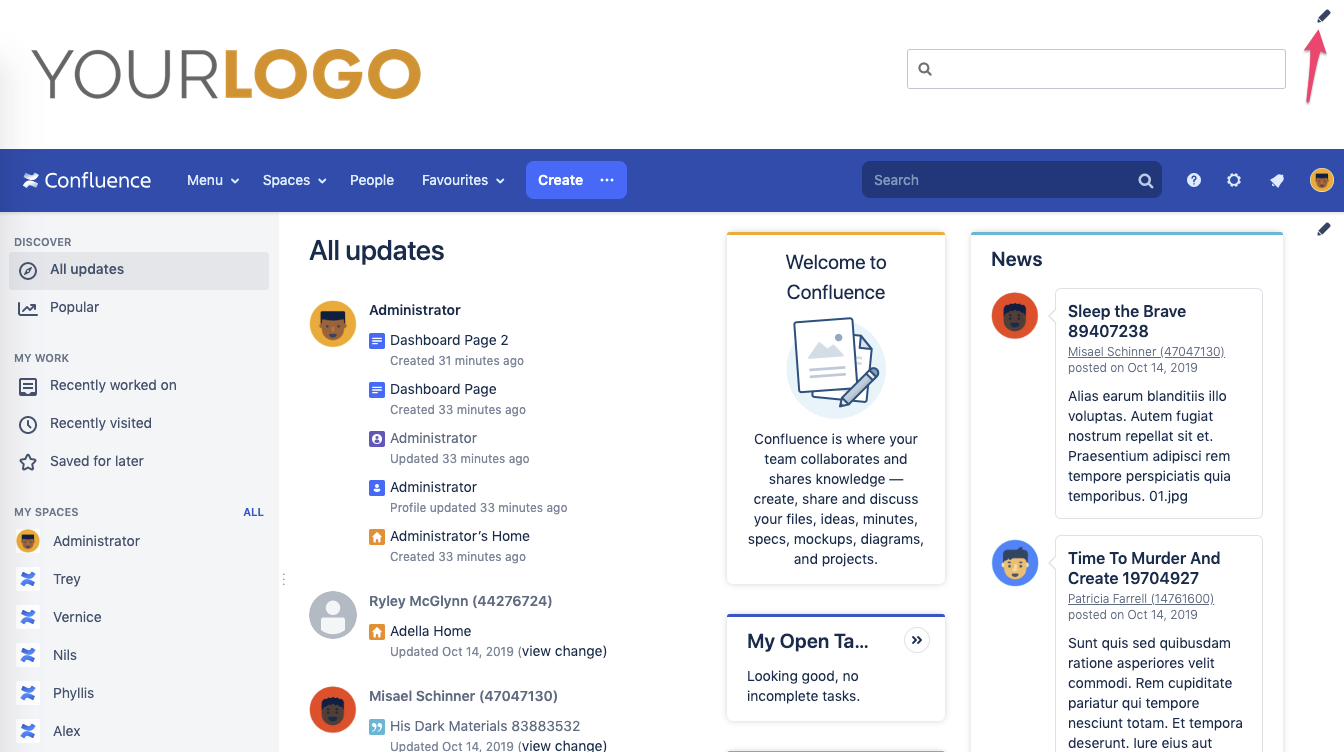
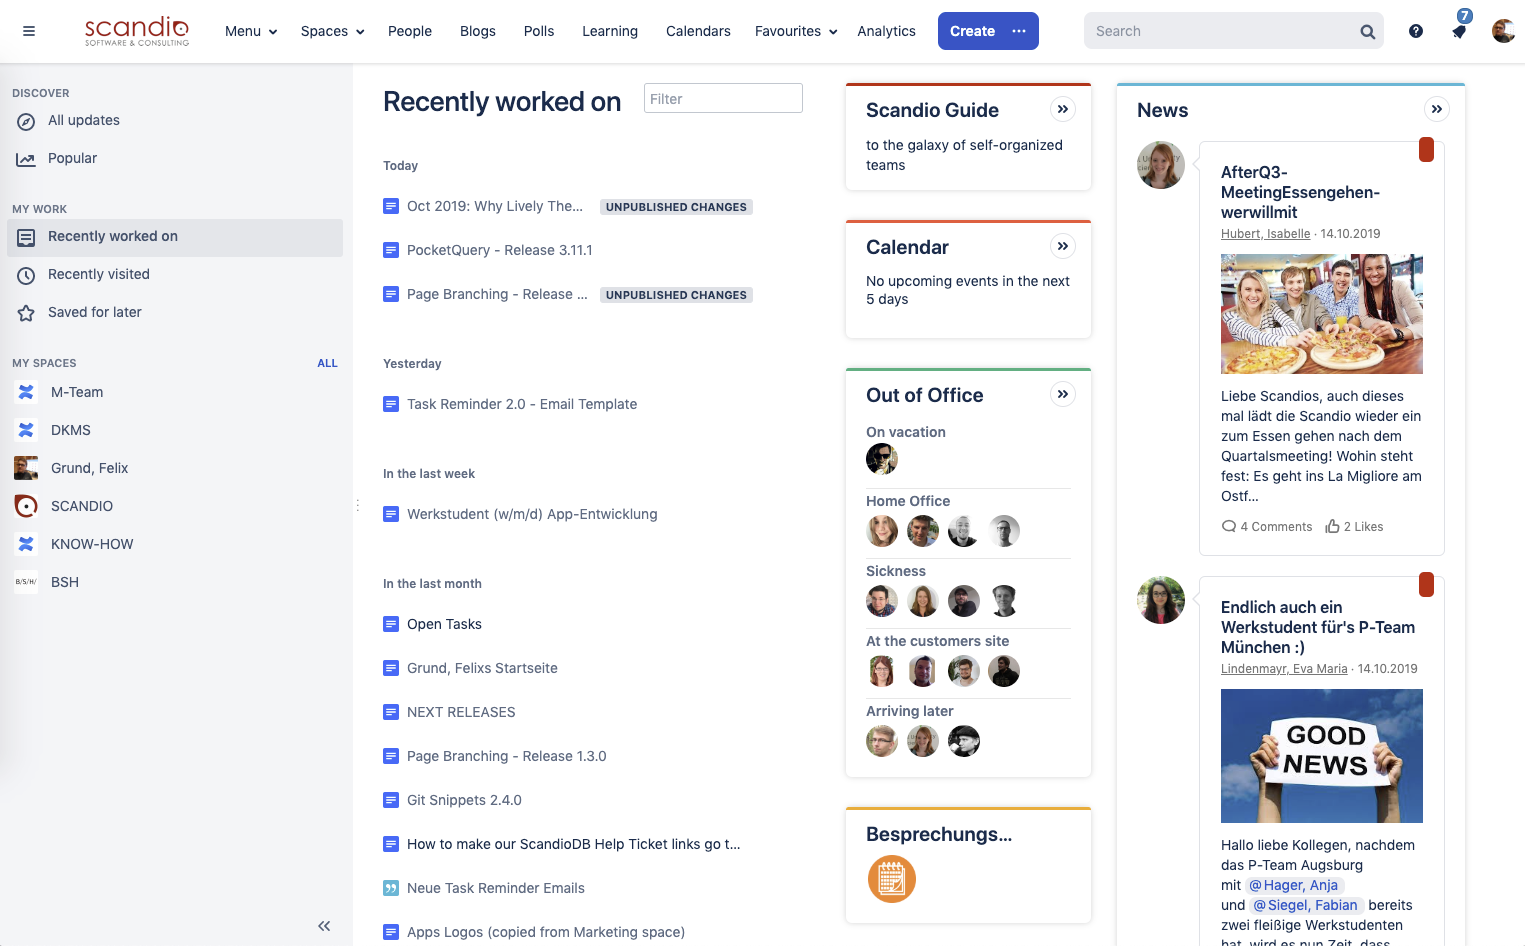
Now, if I go to the dashboard (without any additional configuration) it will look like this:

My (subjective) opinion is: we have won quite a bit by only installing and activating. Or didn’t we? Compare the two dashboards once more:
What we can see with a default drop-in version (without any customizations) are a few things, for example:
A new "Menu" button in the header
A new "Favorites" button in the header

A few pretty widgets
While all these screens are taken from the dashboard, the new appearance will of course be applied to all other views of your Confluence instance as well.
A little bit more than drop-in
Before I dive more into the customization options. Let’s just do something really quick to improve things a lot in just 2 minutes!
On some of the above screens you may have noticed a new pencil icon that is visible if I’m an administrator, for example:
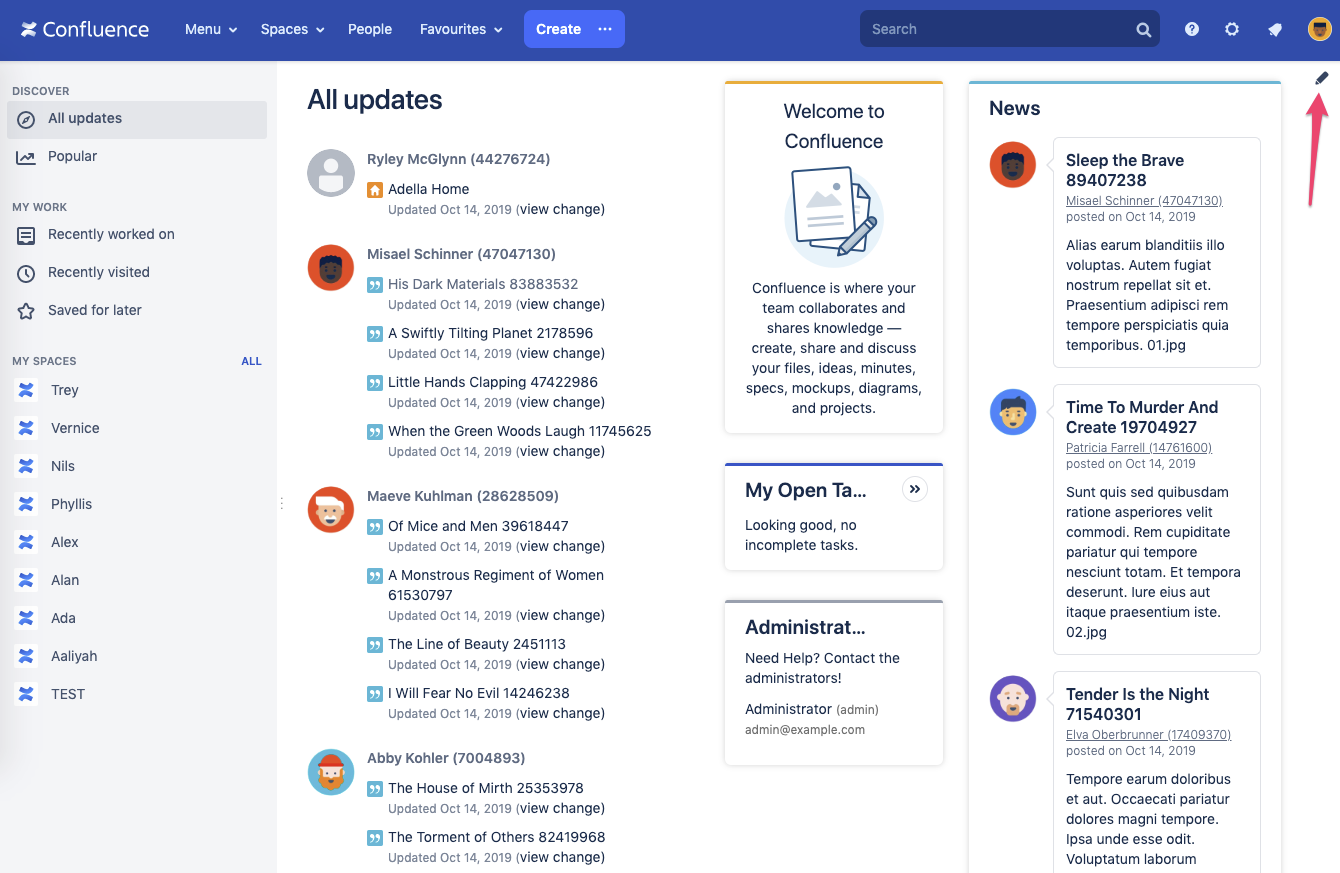
Let’s click on this pencil and we will see a dialog appear:
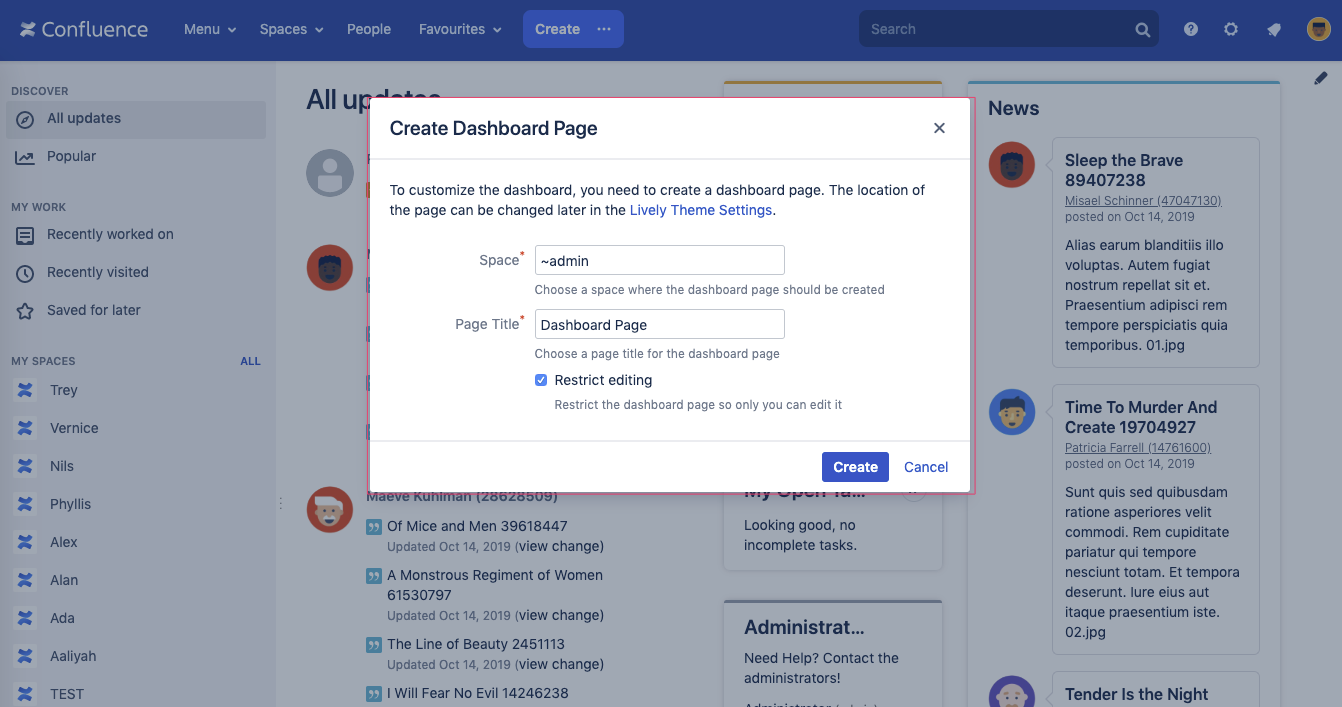
“Create Dashboard Page”? That’s right: in Lively Theme the dashboard is a page. If we click on the “Create” button, the Confluence page editor will appear:
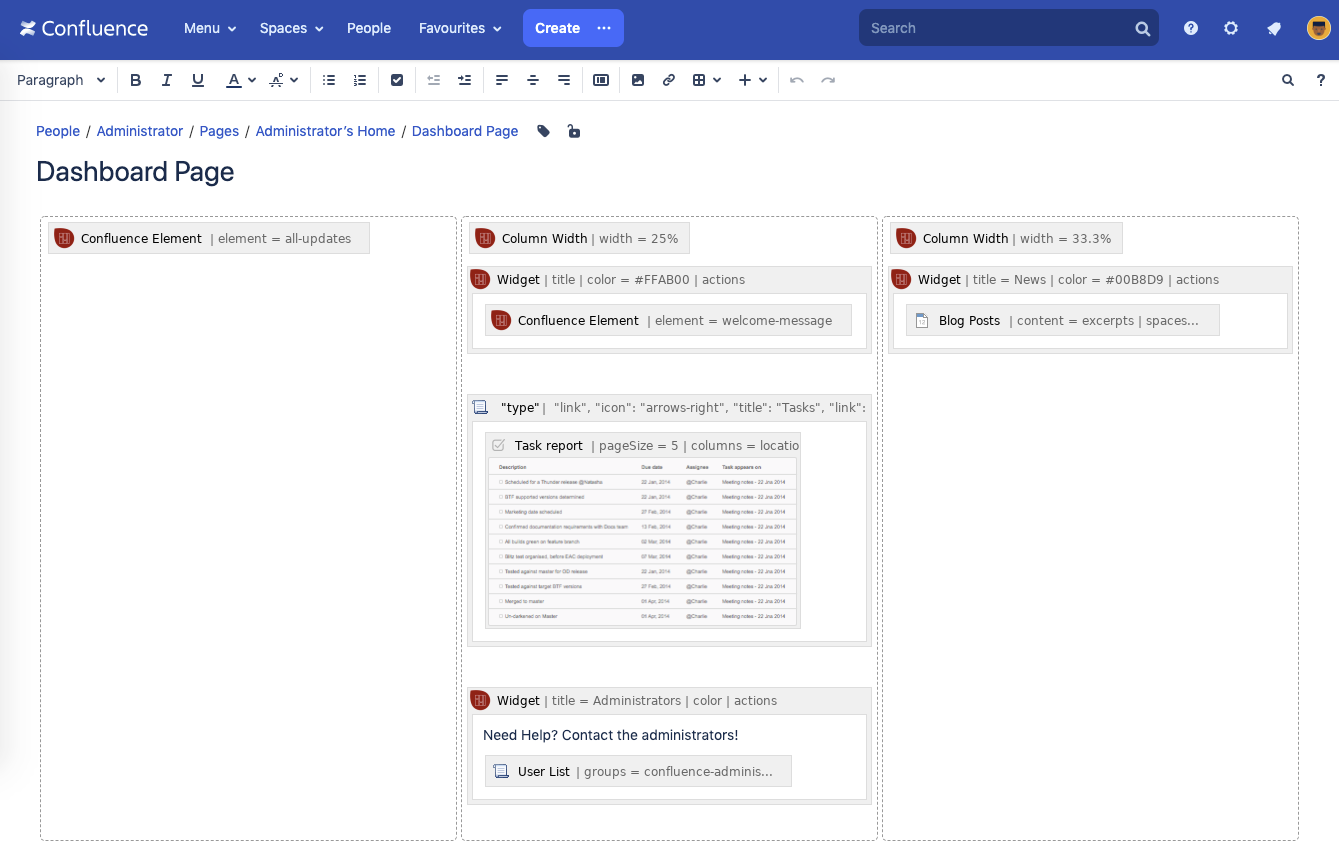
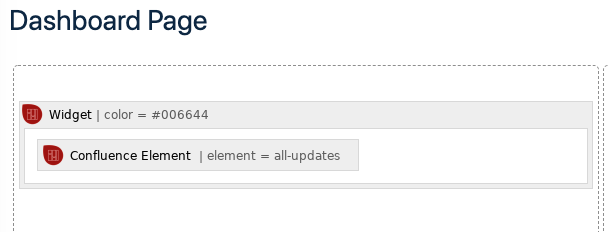
This editor will show some content that contains exactly what has been visible on our Lively Theme default dashboard. You’ll see that there are some Confluence macros in this content which come from our Lively Theme app and which will help you to style your components nicely. Now make a small change to the left column. Wrap the Confluence Element in a Widget macro:

The result will change:

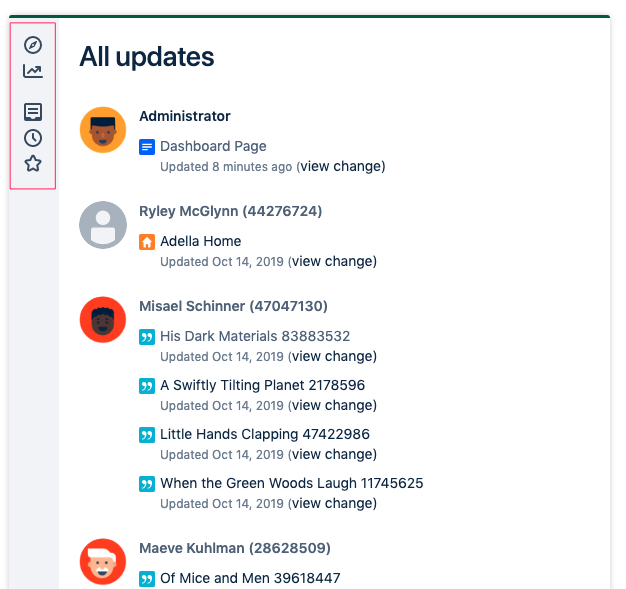
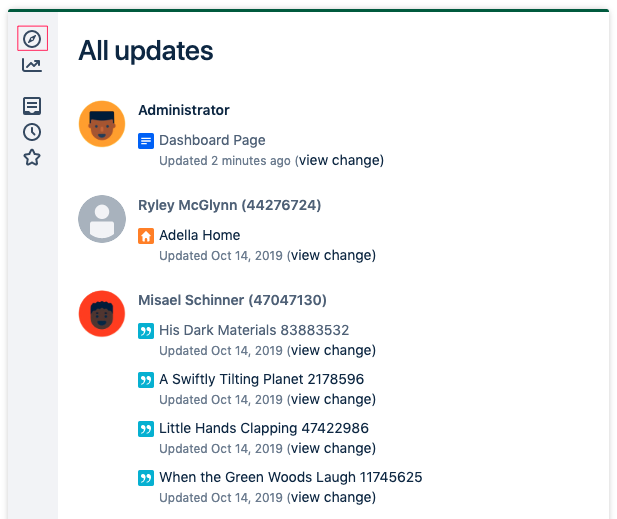
You will notice that now automatically a few new buttons are visible (see marked area in second screen above). With these you can change the style and content of the updates:
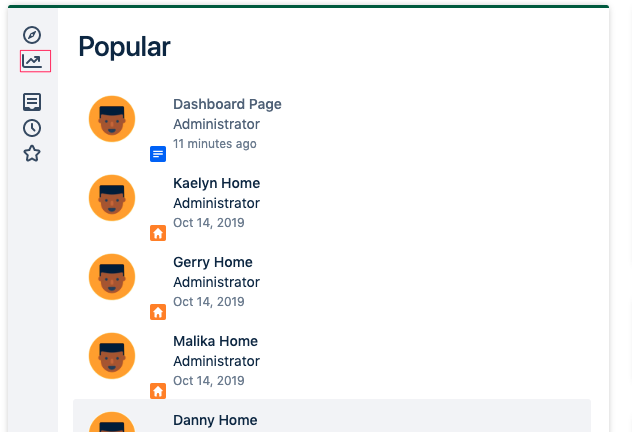
Now, let’s go to the Lively Theme Settings in the Confluence Administration and let’s activate the component Submenu:

Go back to the dashboard and you’ll see a new menu bar with the quite self-explanatory items Recent Spaces, My Spaces, Categories:
Handy, right? And quick! This definitely took us less than 10 minutes.
More customizations
The above was the drop-in 10 minutes part. I will give a few more features and directions in the following sections but note that these are only a few examples! There is a large hand full of additional features that you can explore in the Lively Theme Documentation!
Widgets
In some of the screenshots above you can see some of those colorful pretty boxes. One could take this a bit further and produce something like this:
There are many different types of Widgets that Lively Theme brings into your Confluence. Note that while we’ve been mostly talking about the Confluence dashboard before, Widgets apply to any page or blogpost in Confluence because Widgets come in the shape of macros.
Refer to the Widget documentation if you want to learn more about the many options you’ll get with Lively Theme Widgets.
Custom Elements
In this manner, you as an administrator can configure your own theme with a set of pages that we call Custom Elements. All new elements that we have seen in some of the screens above (e.g. the Menu and Favorites buttons, the dashboard page) are Custom Elements. Let’s head over to the global Lively Theme Settings to get an overview:
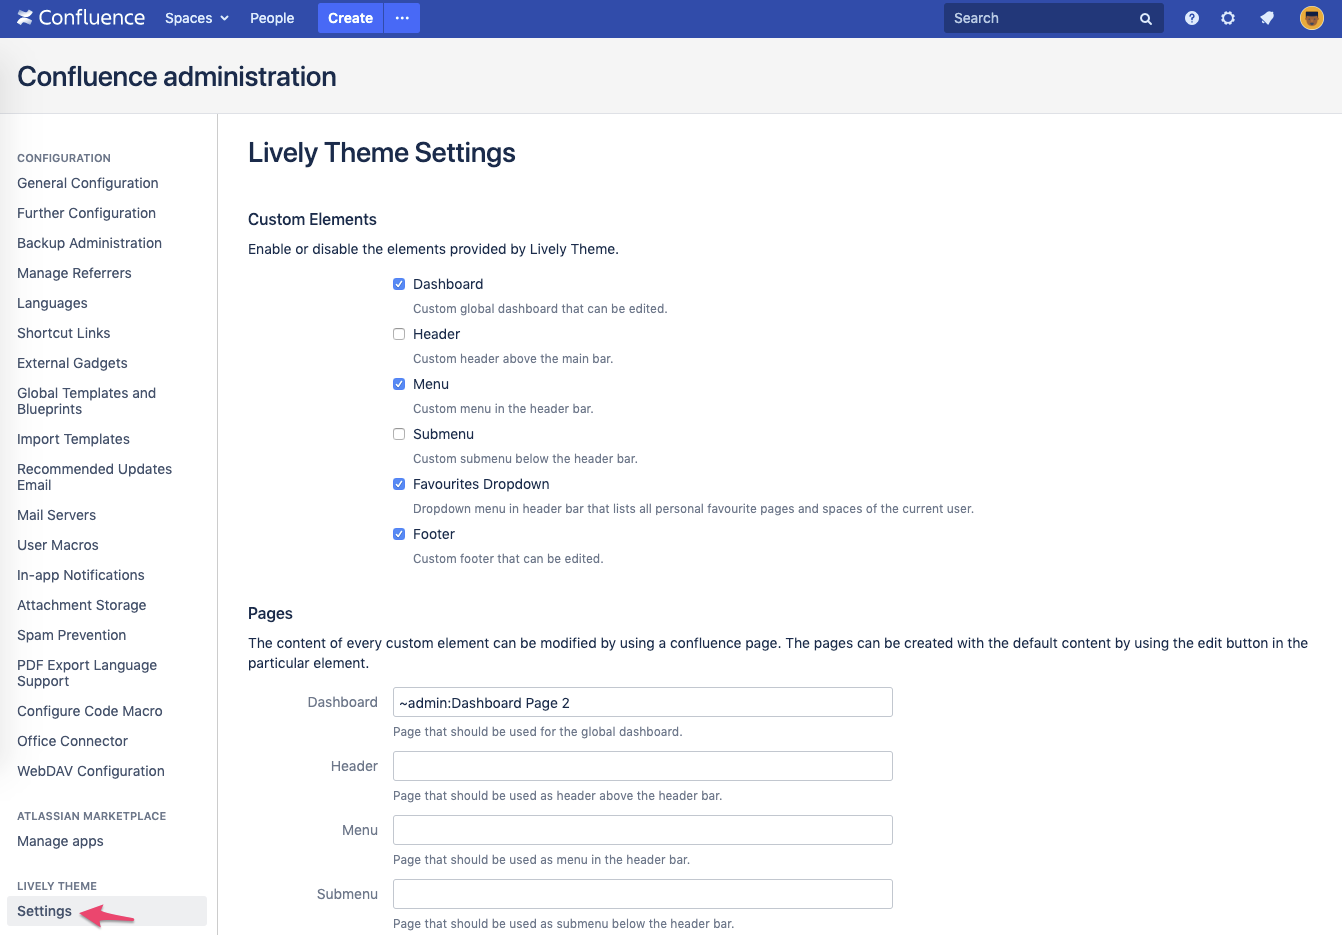
In this global settings view, we see three sections: Custom Elements, Pages and Background Colors. Since we’ve been talking about Custom Elements before, let’s focus on those first. There’s a total of six such elements: Dashboard, Header, Menu, Submenu, Favorites Dropdown and Footer. Just like we showed with the dashboard, all these elements (except the Favorites Dropdown) can be (de-)activated in this fashion.
For example, let’s activate the custom element Header which is deactivated by default. There will be a new header with another pencil icon visible globally in our Confluence:
Clicking the pencil will again create a custom page for the header and your creativity for your header will know no limits!
Pages
Once a Custom Element has been activated they will appear in your Confluence. The elements we have seen on our dashboard before are activated by default. Through the pencil icon, we will create our own custom page for the Custom Element and the referenced page will be shown in the Pages configuration:

For each Custom Element, you can change the referenced page here. This way, you can even maintain multiple pages for each element and change the reference (much like a symbolic link on file systems).
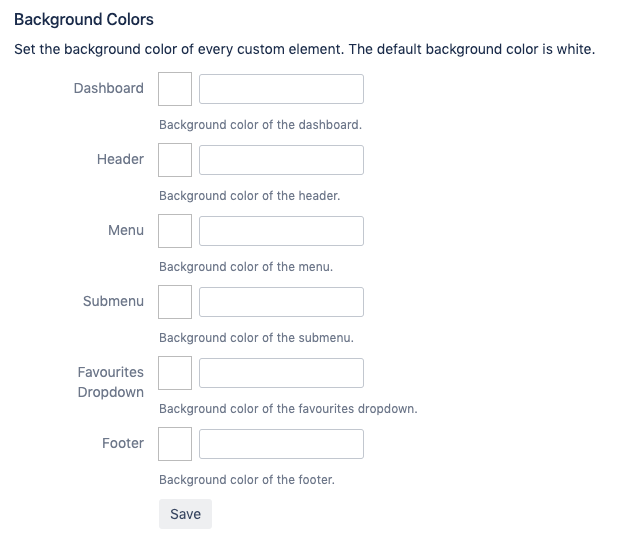
Background Colors
We have seen that each Custom Element may have an associated page (if the defaults have been overridden as explained above). Additionally, each Custom Element will have a dedicated Background Color:
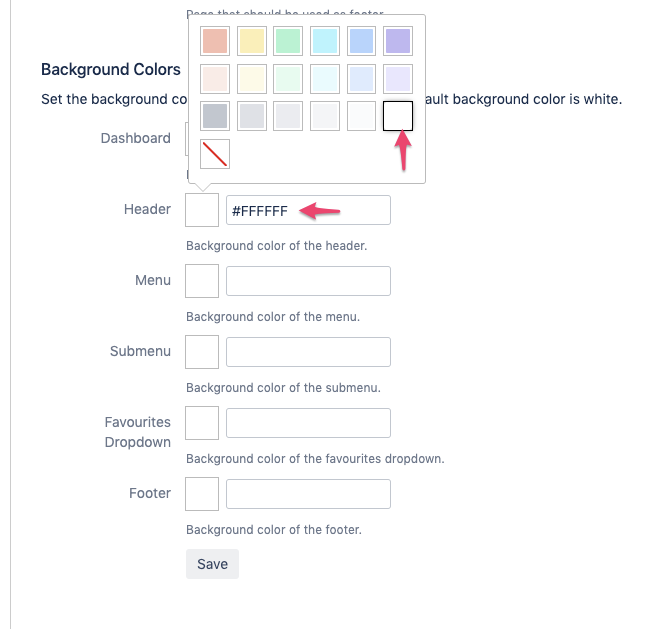
Just like with Pages, these background colors will have defaults and overrides, so any value you change here will override the respective default background color. For example, let’s say we want our header to appear in a light purple color. We’ll go ahead:
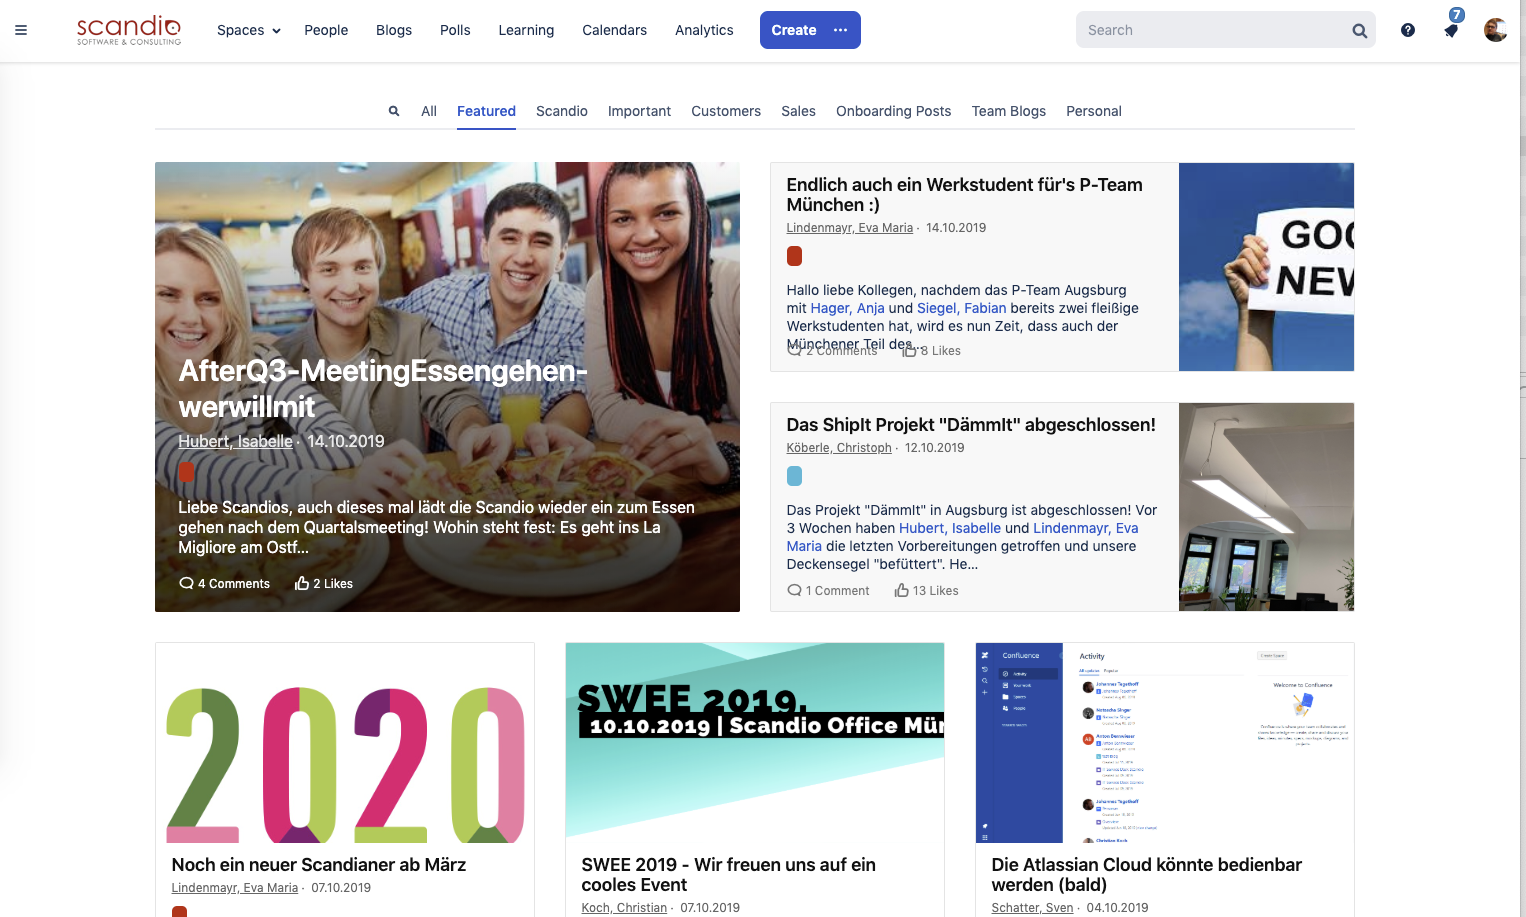
A real-world example! Life at Scandio!
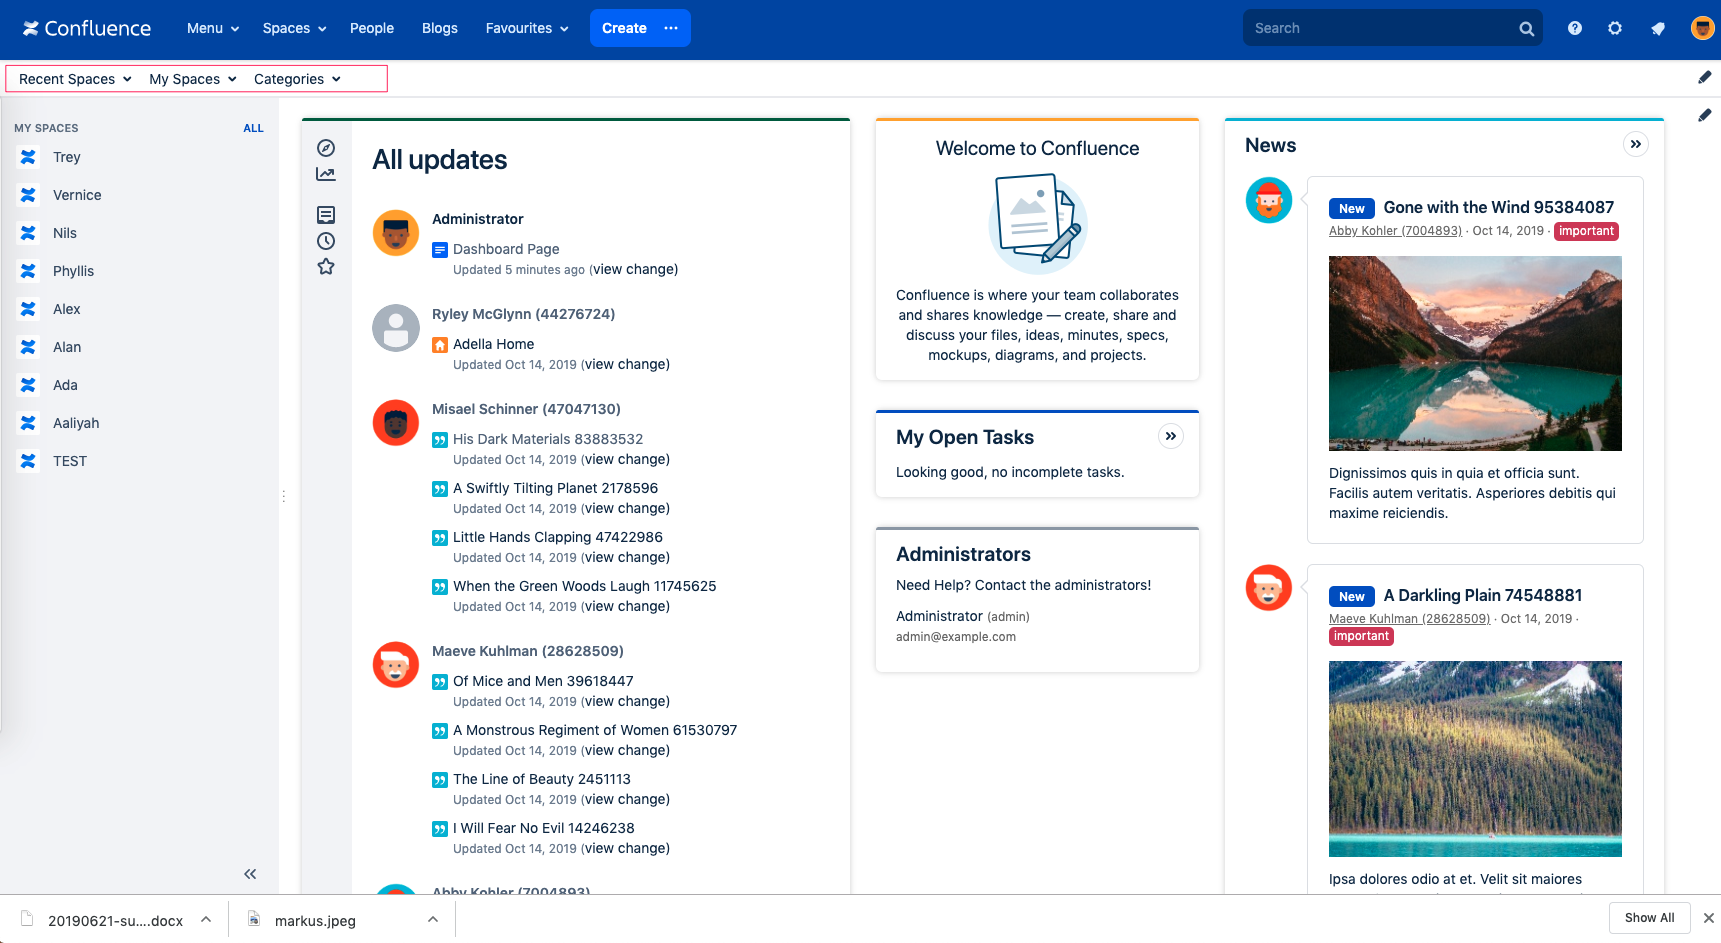
Of course we at Scandio have a Confluence and of course we also use our own apps! Our Confluence (or let’s say my personal view) looks like this:
As you can see, we actually didn’t customize too much. That’s how we like it: we use Lively Theme as a drop-in solution with only very minor customizations.
But: why do our News in the right column look so pretty?! Read ahead…
Integration with Lively Blogs
Lively Theme integrates with our other app in our Lively series called Lively Blogs for Confluence. So if you also have Lively Blogs installed, you’ll have all the Blog Posts features on your dashboard, like Sticky and Important Posts, Teaser Images, Blog Overviews, Blog Categories, etc.
Of course, you can consider this a gimmick: Lively Theme is definitely its own independent Confluence app and you can achieve amazing things with only very little effort.
Summary
Lively Theme is a drop-in Confluence theme solution with the option of customizations through a defaults-and-overrides design. We described how you can design your own individual Confluence appearance with a few simple steps (that in fact shouldn’t take much longer than 10 minutes). While Lively Theme is an independent app, we have also shown an optional integration point with our second App Lively Blogs.
We hope that Lively Theme may help you on your road to your own individual Confluence appearance and we would be happy if you’d consider a free evaluation on the Atlassian Marketplace. Please have also a look at the Lively Theme Documentation and don’t hesitate to ask for our help if you hit questions or obstacles!


.png)


