
As you may remember, in Lively Theme 2.0, the “Dashboard page” was introduced. Instead of adding and removing widgets from a configuration interface, the dashboard can be edited just like a page, because it is a page. ;-)
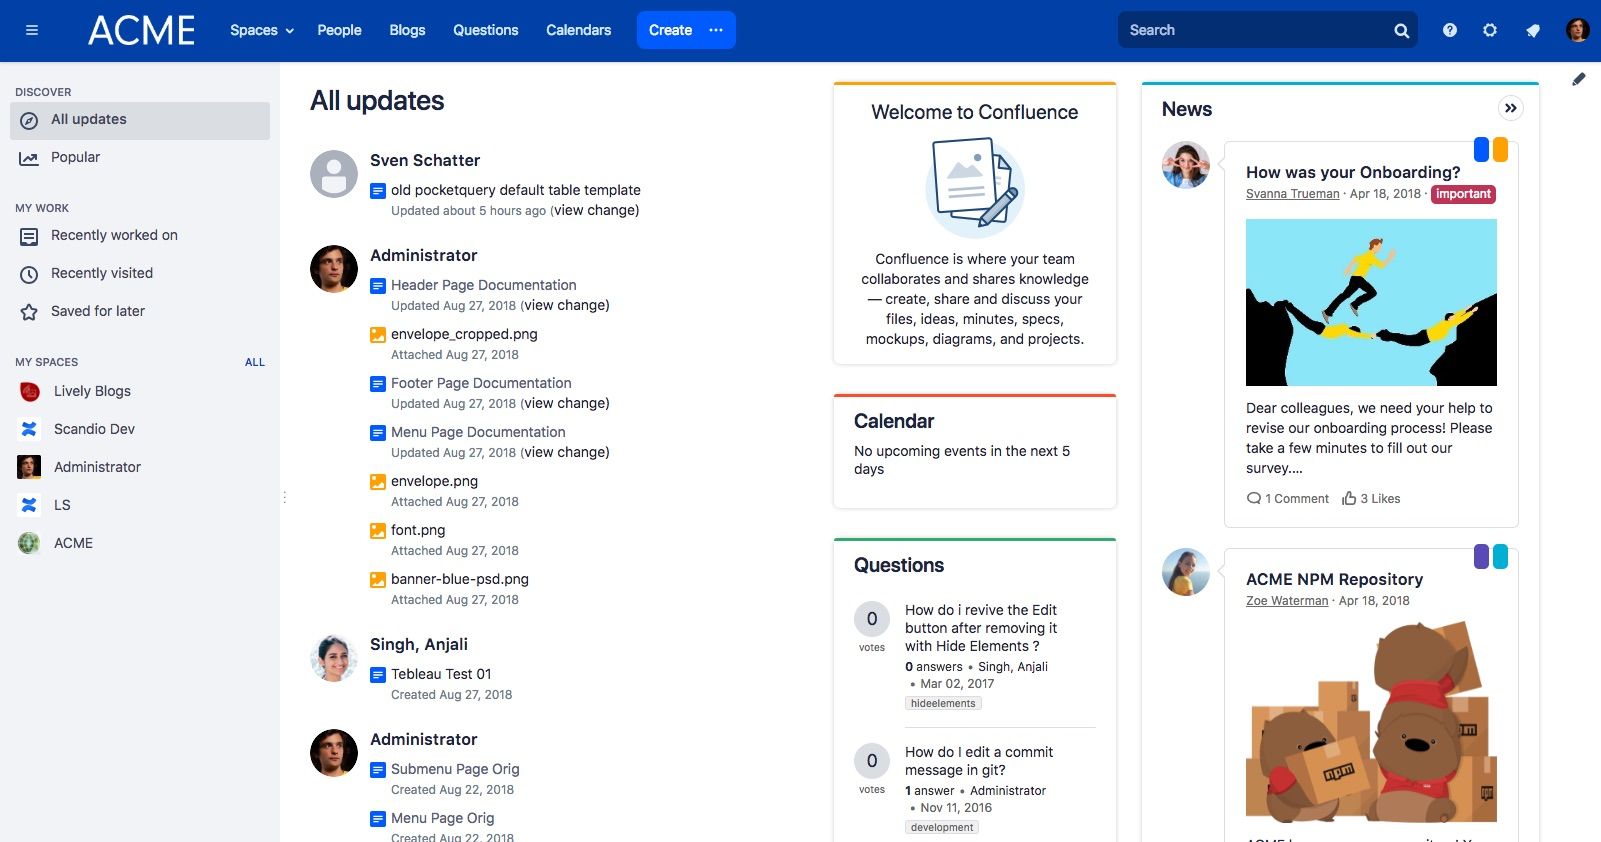
Dashboard Page in 2.0
Lively Theme comes with a default dashboard page that becomes visible after activating the theme. When you want to edit it for the first time, a dialog pops up and asks you where you want to create the dashboard page. Then a page will be created with the content of the default page and you can edit it as you wish.

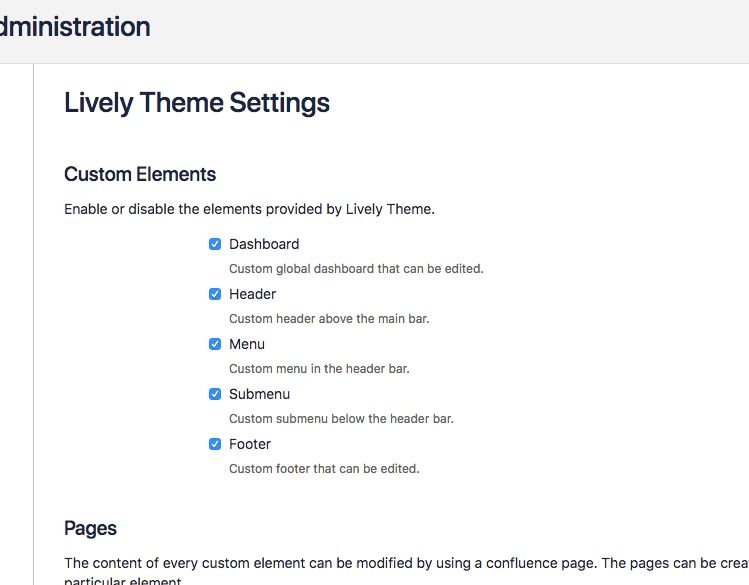
Custom Elements in 3.0
In Lively Theme 3.0, we adapted this mechanism for a header, a footer and two navigation menus, the “mega” menu and the submenu. And now the dashboard is also a custom element. Custom elements can be enabled and disabled individually in the Lively Theme settings.
Header
The default header comes with an image on the left and a search field on the right.
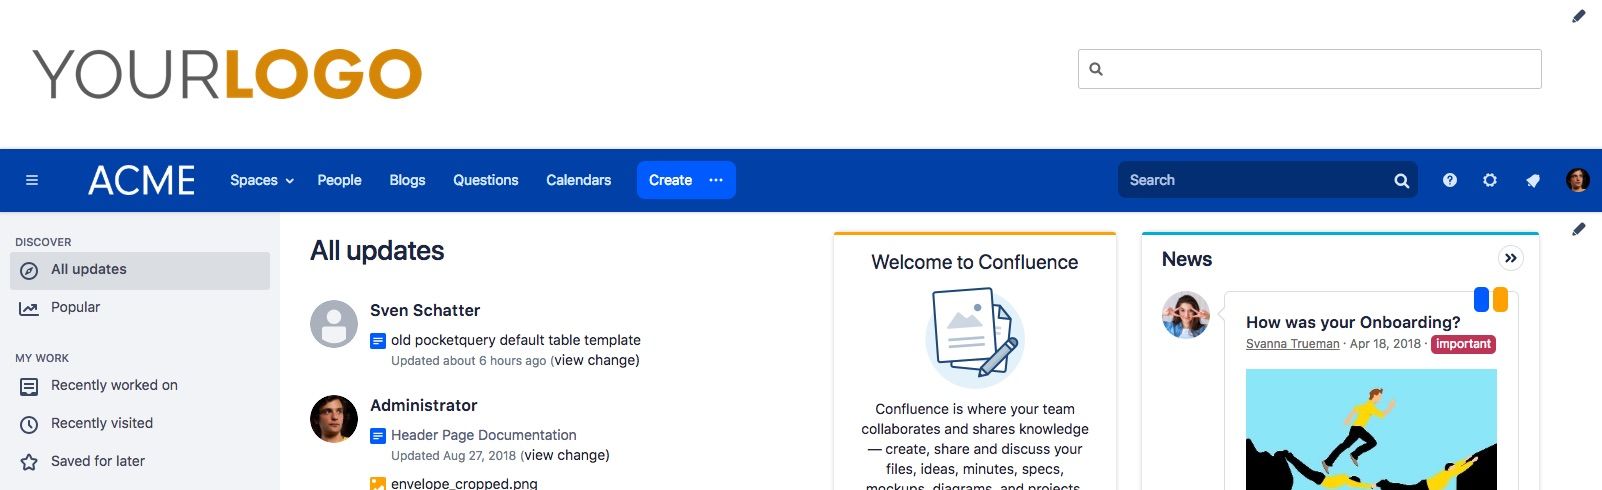
If you click the edit icon in the upper right corner, you will be able to edit the page, just like the dashboard page.
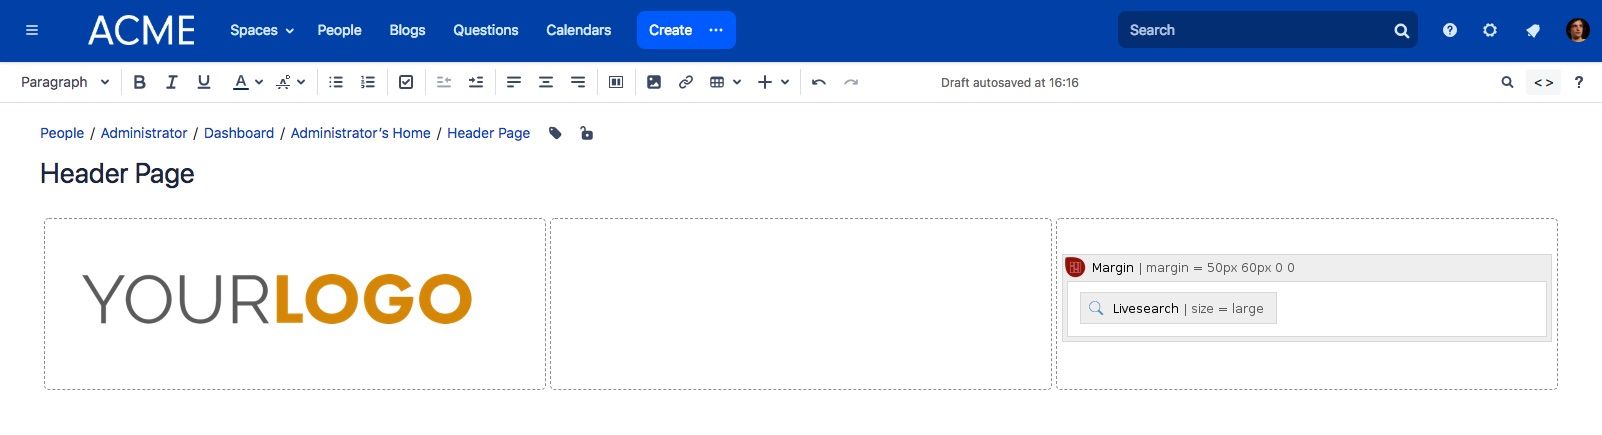
You see the 3-column layout with a generic logo image on the left and the Livesearch macro, surrounded by the Margin macro (included in Lively Theme) to give it an appropriate margin. Since this is just a Confluence page, you could use any layout you want, put an image on the left and right or in the center or something totally different.
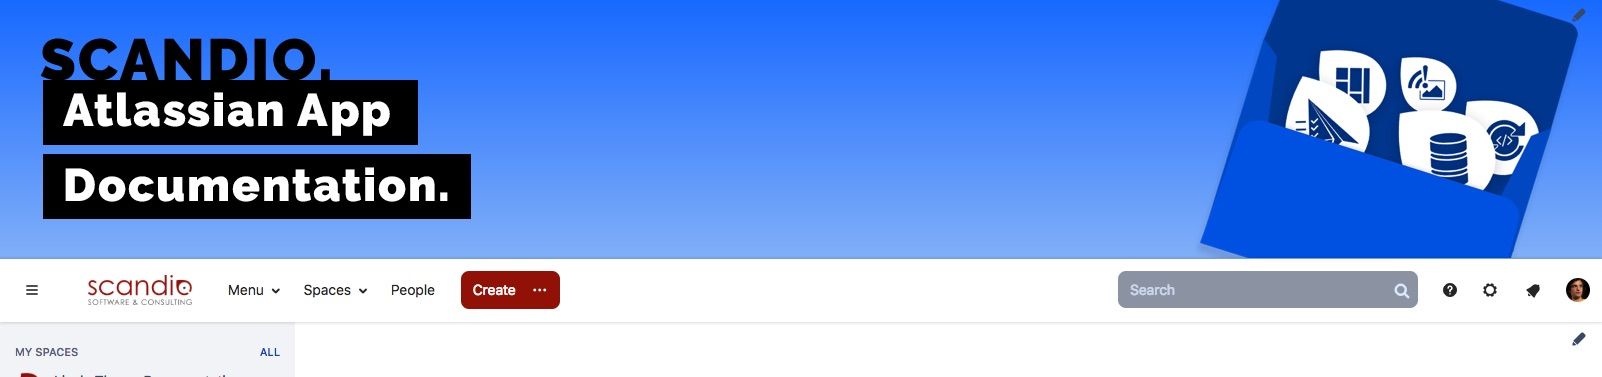
This is for example the header of our documentation wiki with a little bit of CSS for the color gradient from blue to a lighter blue.
Footer
The default footer looks just like the regular Confluence footer with a tiny difference. There is an edit icon in the upper right corner to customize it, of course. ;)

In the editor you will see one macro, the Confluence Element macro (included in Lively Theme) with the element set to “footer”.

You can remove this macro and create your own individual footer. It could for example look like this.
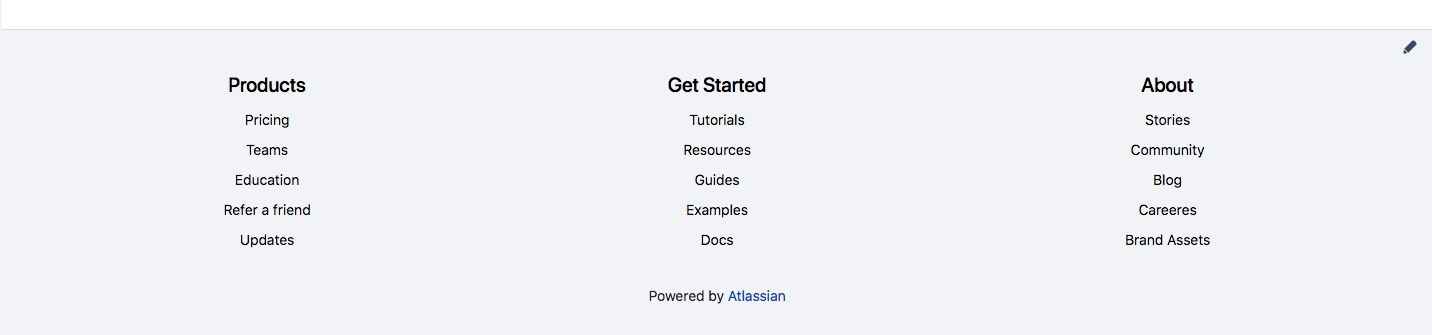
But make sure you have ‘Powered by Atlassian’ in your footer, as it is required by the Atlassian Customer Agreement.
Menu
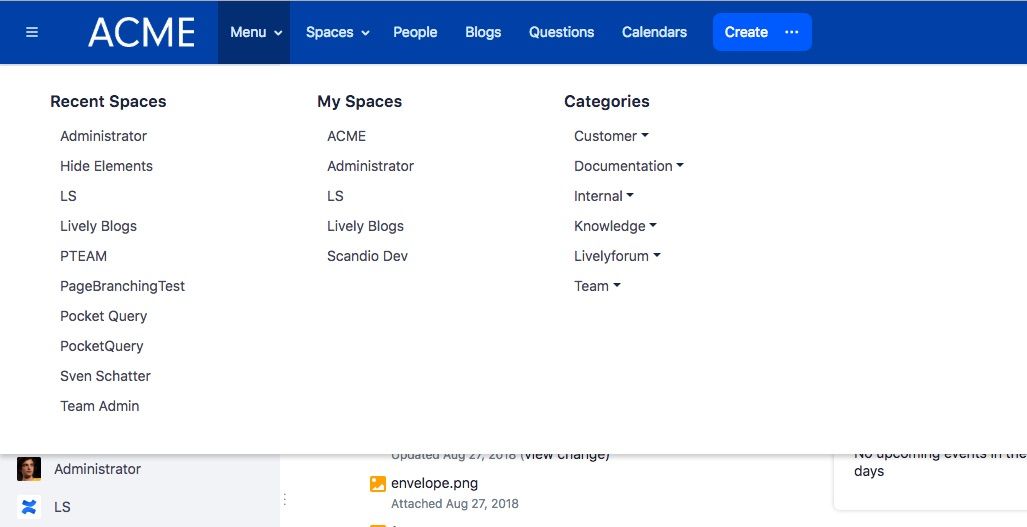
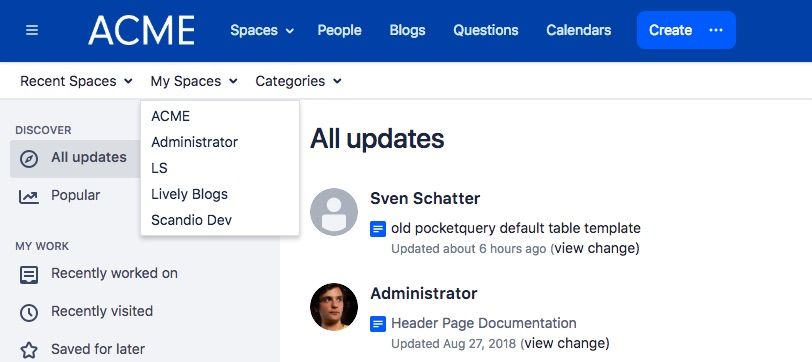
The menu can be opened by pressing the “Menu” link next to the site logo in the upper left corner. By default it includes the recent spaces visited by the user, the user’s favorite spaces and the spaces divided into their space categories.
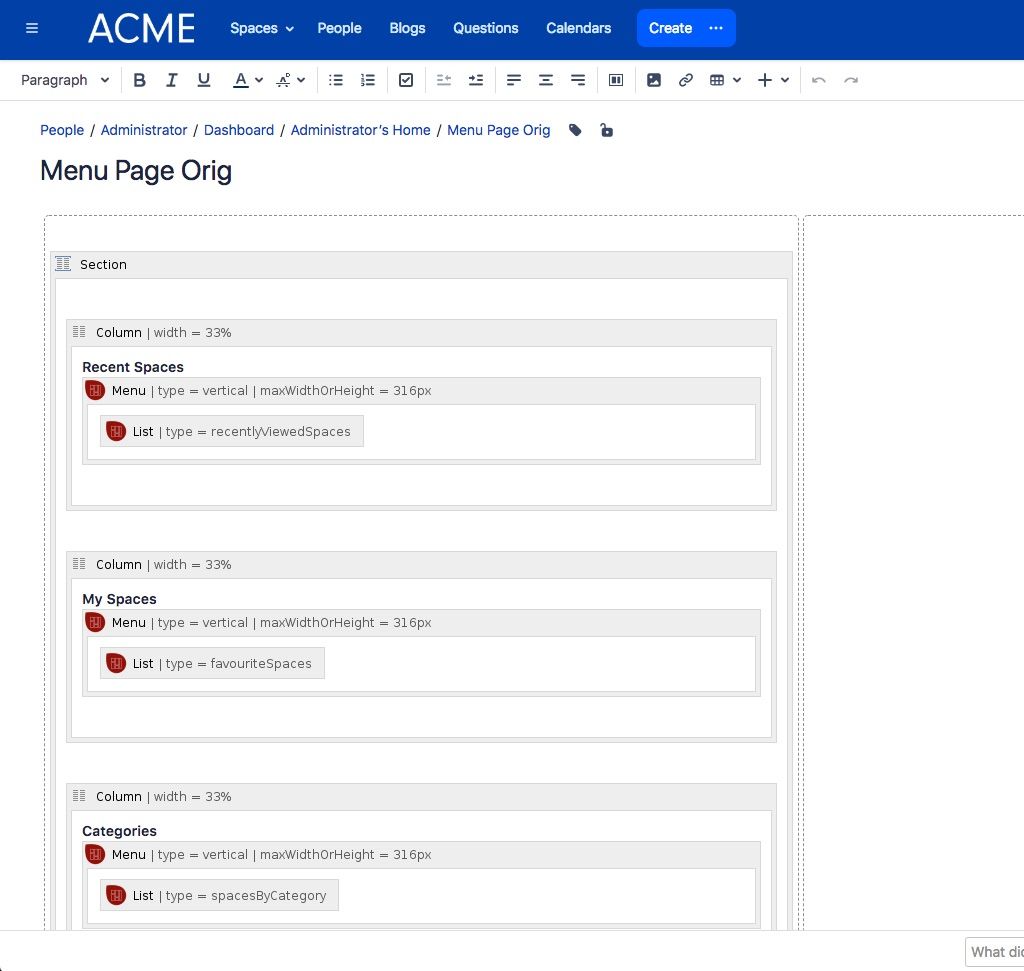
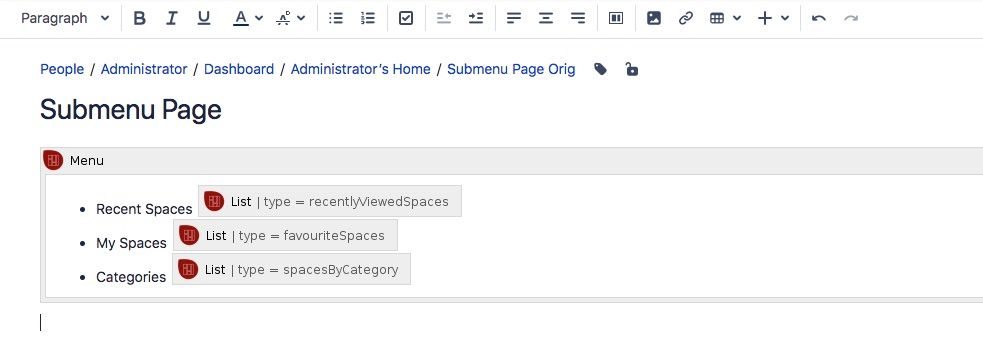
When editing the menu, you will see 3 column macros in a section macro. Each column consists of a header and a Menu macro (included in Lively Theme). The Menu macro can create horizontal or vertical menus from simple lists. In this case, the Menu macro is set to “vertical”. Inside each Menu macro, there is a List macro (also included in Lively Theme). The List macro can generate dynamic lists containing, you guessed it, the user’s recently visited spaces, the favorite spaces and a nested list of spaces by space category. In combination, the menu you see is created.
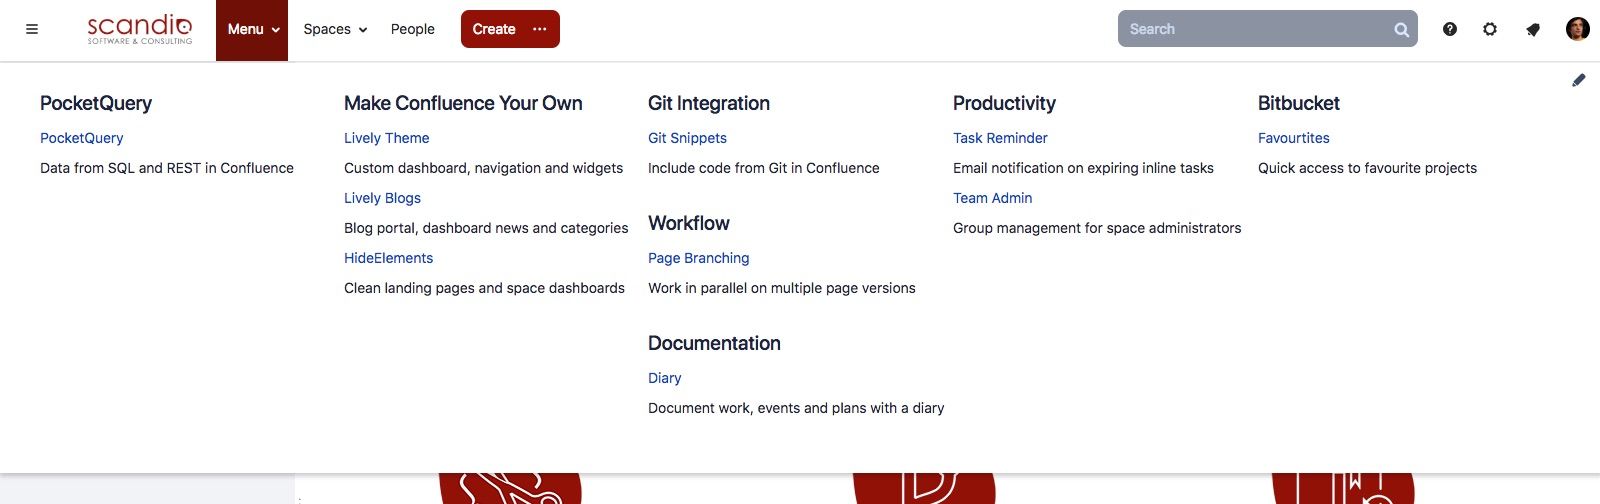
But of course, you can fully customize the menu as you like. It could for example look like this.

Or like our documentation wiki menu.
Submenu
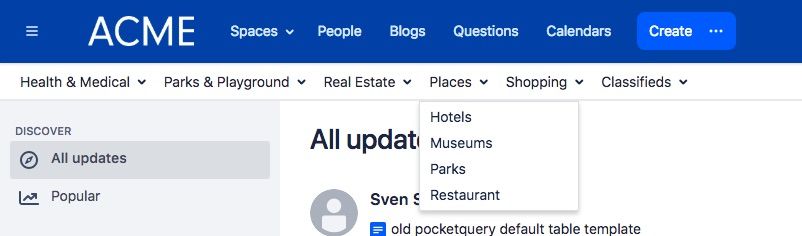
The default submenu shows the same as the “mega” menu, but as a horizontal menu below the main navigation bar.
When editing the page, you see a Menu macro, set to horizontal, containing a list with 3 items. Those items are the recent visited spaces, favorite spaces and the spaces by category. Each item contains the List macro after the text. Because each List macro generates a list, you will get a nested list in the end. And the Menu macro creates a horizontal menu from that list as you see it below the navigation bar.
And again, you can put whatever list inside the Menu macro to create the menu you like. It could look for example like this.
Page Management
We recommend to put the pages of the custom elements into a separate space. Each page can have its own restrictions, so you can control who can edit which custom element.
In the Lively Theme settings, you can see an overview of which element uses which page and can reassign or remove pages as you like.

Background Colors
And yes, you can assign a background color to each custom element in the Lively Theme settings.
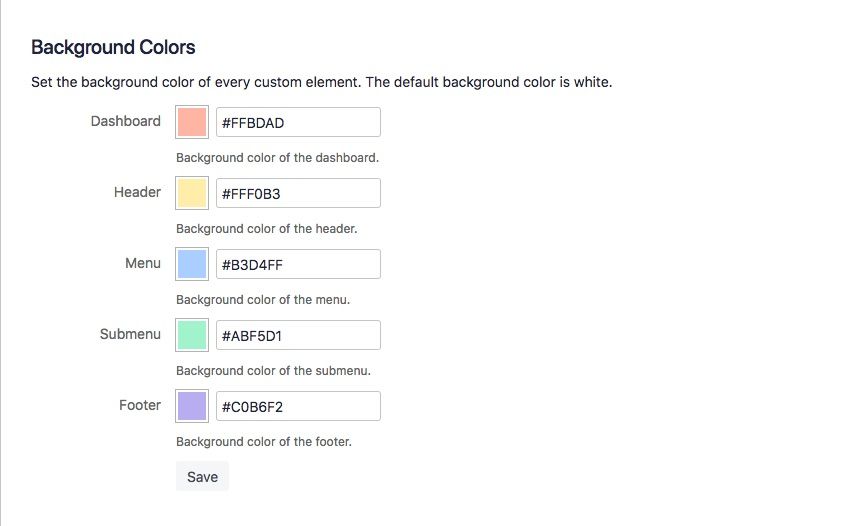
Which looks like this :-D
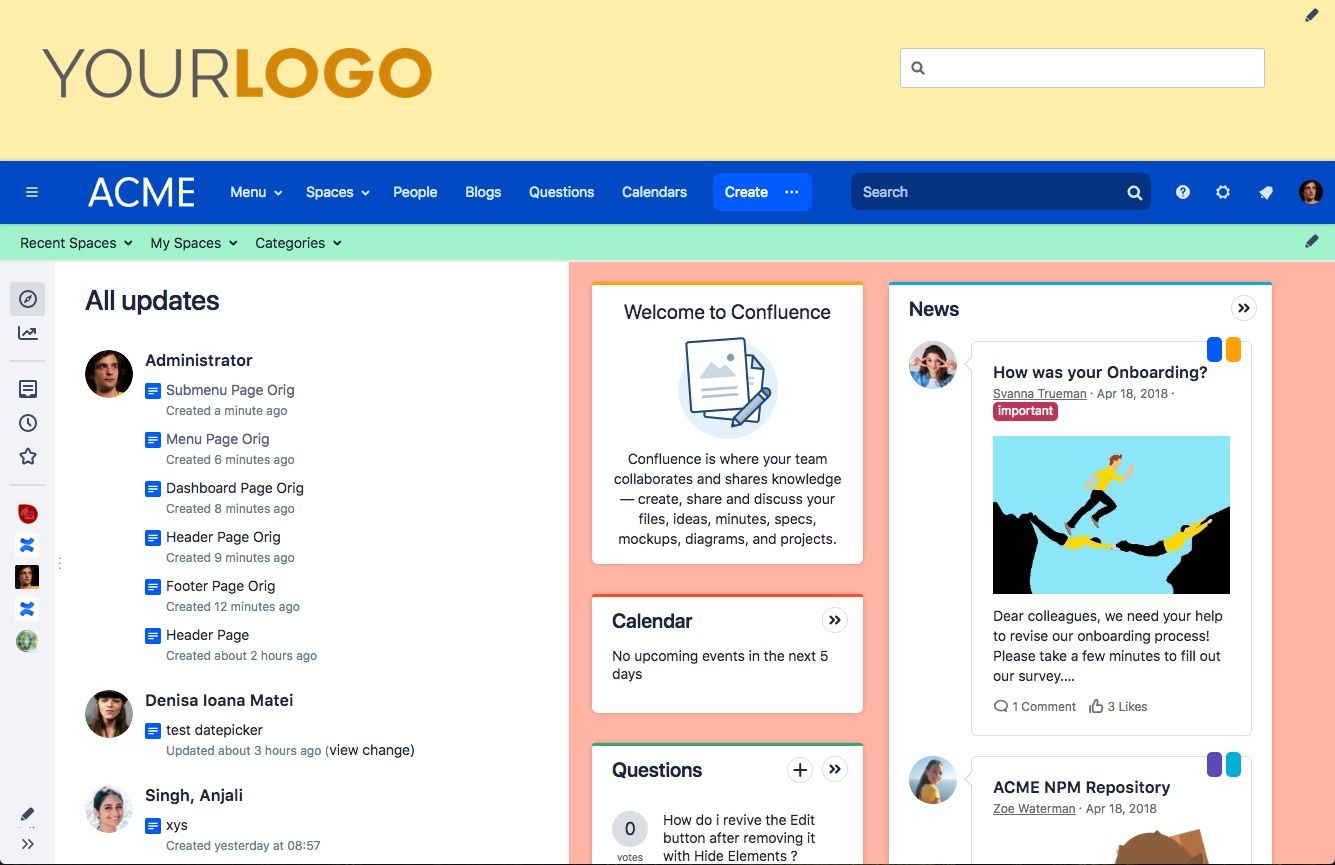
Happy theming :-)
Where to go?
- Download Lively Theme for Confluence from the Atlassian Marketplace and leave a review.
- Read the Lively Theme documentation and learn more about the app’s features.
- Visit the Atlassian Community to ask questions.
- If you have an issue with the Lively Theme functionality, have a look at our Service Desk.
- Contact us at support@livelyapps.com